Creating a Task and dividing it into one or more Batches is a single operation. You cannot create a Task and postpone dividing it into Batches until a later date. However, you can subsequently alter Batch definitions by adding or removing entries, or by transferring entries from one of a Task's Batches to another.
Creating a Task (and its Batch)
The procedure to create a Task and its Batch(es) is:
| 1) | Click on the Search button  at the top of the DPS website screen. This takes you to the Search screen: at the top of the DPS website screen. This takes you to the Search screen:
 | | Click to enlarge |
|
| 2) | Conduct a search using any of the methods described in Searching for Entries, then select the entries to be included in the Task:
 | | Click to enlarge |
|
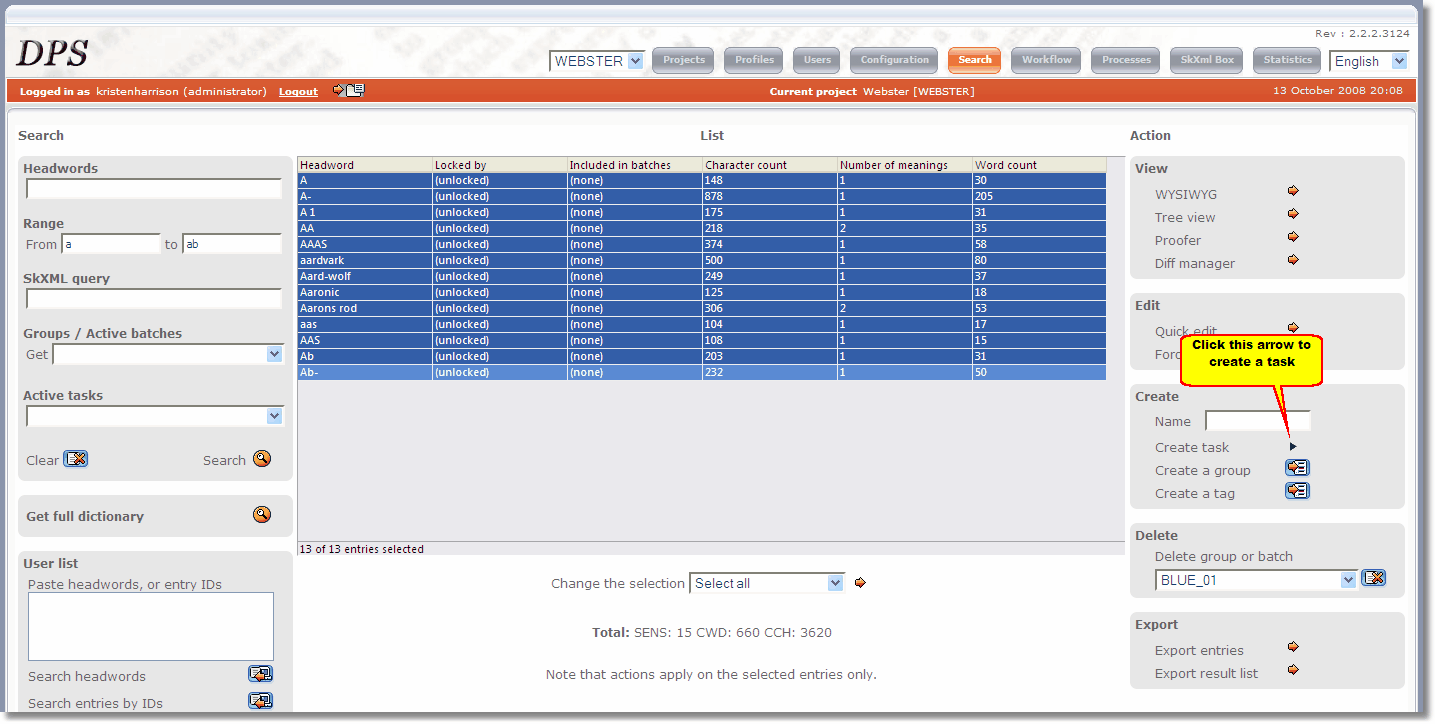
| 3) | Click the arrow next to Create a task. This opens the 'Create task' form in the right-hand column of the screen:
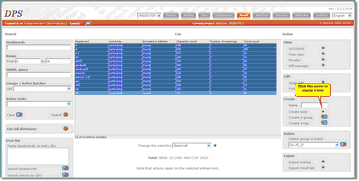 | | Click to enlarge |
|
| 4) | Fill in the specifications for your task in the 'Create a task' panel on right of the screen:
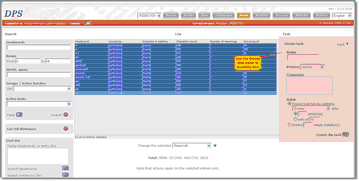 | | Click to enlarge |
|
| • | In the Name box, enter a name for your Task. A Task name can contain spaces. |
| • | Specify the Process for this Task. |
| • | If you wish, add a comment to be associated with this Task. This can be viewed by editors in the Entry Editor. The comment is applied to all Batches created from this Task. |
| • | Ensure that the Create Batches by splitting option button is selected  . . |
| • | Select the criteria to measure the total size of the entries you have selected by choosing an option in the drop-down list immediately below. The options are: |
| – | Entries: the total number of entries you have selected. |
| – | Word count: the total number of words in those entries. |
| – | Number of meanings: the total number of senses in those entries. |
| – | Character count: the total number of characters in those entries. |
| – | If defined for your project, one or more custom methods of measuring the relative 'size' of entries. |
| • | Select the method by which the chosen measurement is to be applied by choosing one of the following two options: |
| – | batch(es): Divide the task's entries into a specified number of equal length batches based on the measurement you have chosen. (Note that individual entries are never divided.) |
| – | sets of: Divide the task's entries into batches, each containing a specified number of units of the measurement you have chosen. Note that individual entries are never divided. The last batch of a task divided in this way might be significantly shorter than the others. |
| 5) | Click the button next to Create the task  to execute the command. to execute the command. |
The Task will be created with the name you have specified (in this example we have used the name 'A to Ab John Smedley'). Its component Batches will be numbered, in the form 'A to Ab John Smedley'_01', 'A to Ab John Smedley'_02', and so on.
You will be automatically taken to the Workflow screen with the Batch(es) of the Task you have just created displayed. You can now assign these Batches to editors (see Working with Batches) or you can wait until such time as you have a better idea of availability of resources.
If you find the Batches have been divided in an impractical fashion, for example if the batching has split several entries for the same headword (i.e. homographs) you can amend this after the task has been created by moving entries between the batches: see Moving Entries Between Batches.
Creating a Task on an Ad Hoc Process
It is likely that you will often need to create a Task for a one-off job that is not part of the project's general Workflow. In such cases it is both awkward and undesirable to define a whole new process that will only be used once. The special 'ad hoc' process exists for these cases; simply assign it to your one-off Tasks.
The 'ad hoc' process has two main advantages:
| ► | You do not need to define it in the Workflow Definition File. |
| ► | It has one step, which is given the name of the Task it is assigned to. |
Creating Empty Batches
It is often necessary to create empty Batches to act as containers for the compilation of new entries. The procedure is:
| 1) | Click on the 'Search' button at the top of the DPS website screen. This takes you to the Search screen:
| | Click to enlarge |
|
| 2) | Click the arrow next to Create a task. This opens the 'Create task' form:
| | Click to enlarge |
|
| 3) | Fill in the specifications for your Task:
| | Click to enlarge |
|
| • | In the Name box, enter a name for your Task. A Task name can contain spaces.
Specify the Process for this Task. |
| • | If you wish, add a comment to be associated with this Task. This can be viewed by editors in the Entry Editor. The comment is applied to all batches created from this Task. |
| • | Ensure that the Create empty batch(es) option button is selected . |
| • | Enter the number of empty batches you wish to create for this Task in the text box. |
| 4) | Click the button next to Create the task to execute the command. |
The Task is created with the name you have specified plus '_new' appended, for example 'Empty Batch Test_new'. Its component Batches will be numbered in the form: 'Letter A Main Edit_new_01', 'Letter A Main Edit_new_02', and so on.
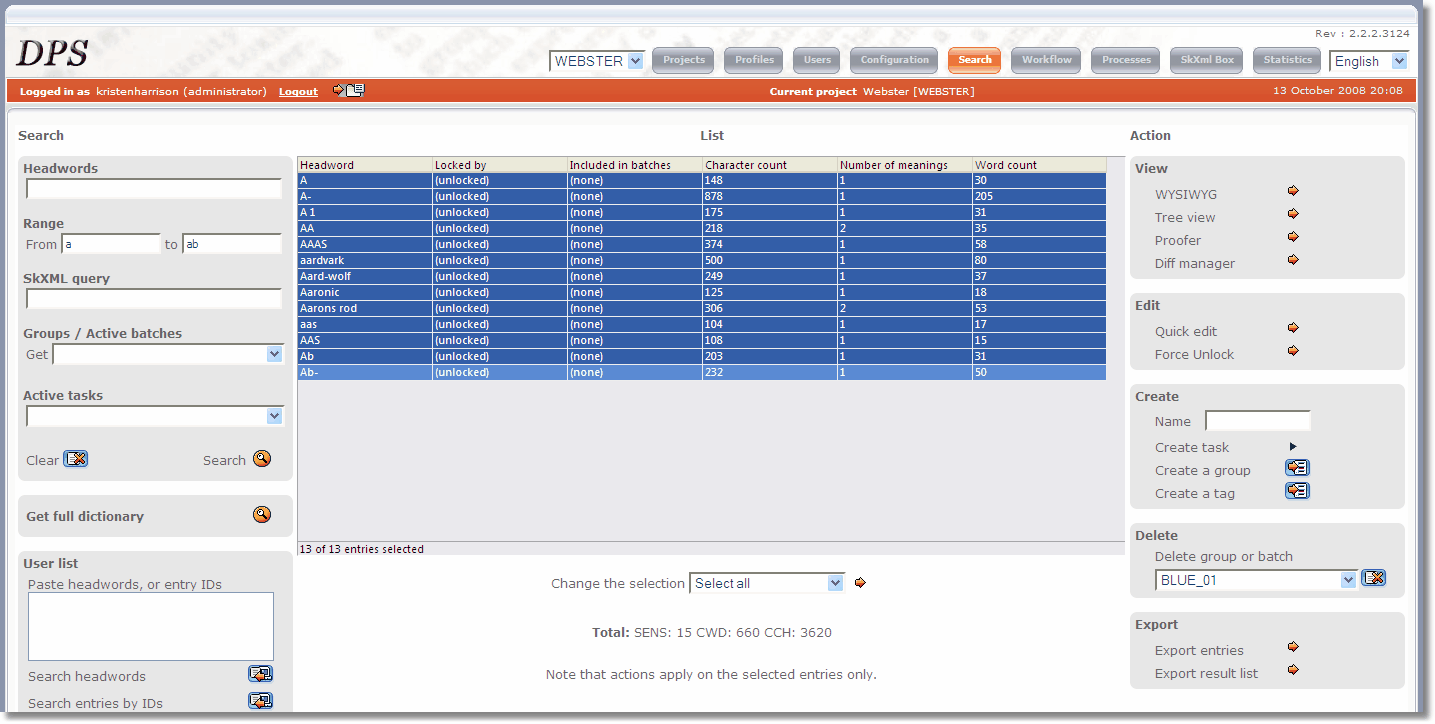
Deleting a Batch
| 1. | Click on the Search button and you will be taken to the search screen:
| | Click to enlarge |
|
| 2. | Select the Group you wish to delete from the Delete a Group or Batch drop-down list to the right of the screen:
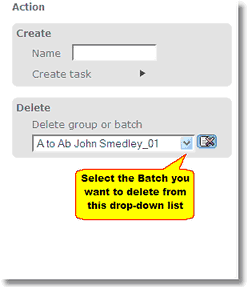
Batches are grouped under their Tasks. |
| 3. | Once you have chosen your Batch, click on the delete  button to the right of the drop-down list. button to the right of the drop-down list. |
 Note: only the batch definition is deleted; its member entries are not deleted or altered in any way.
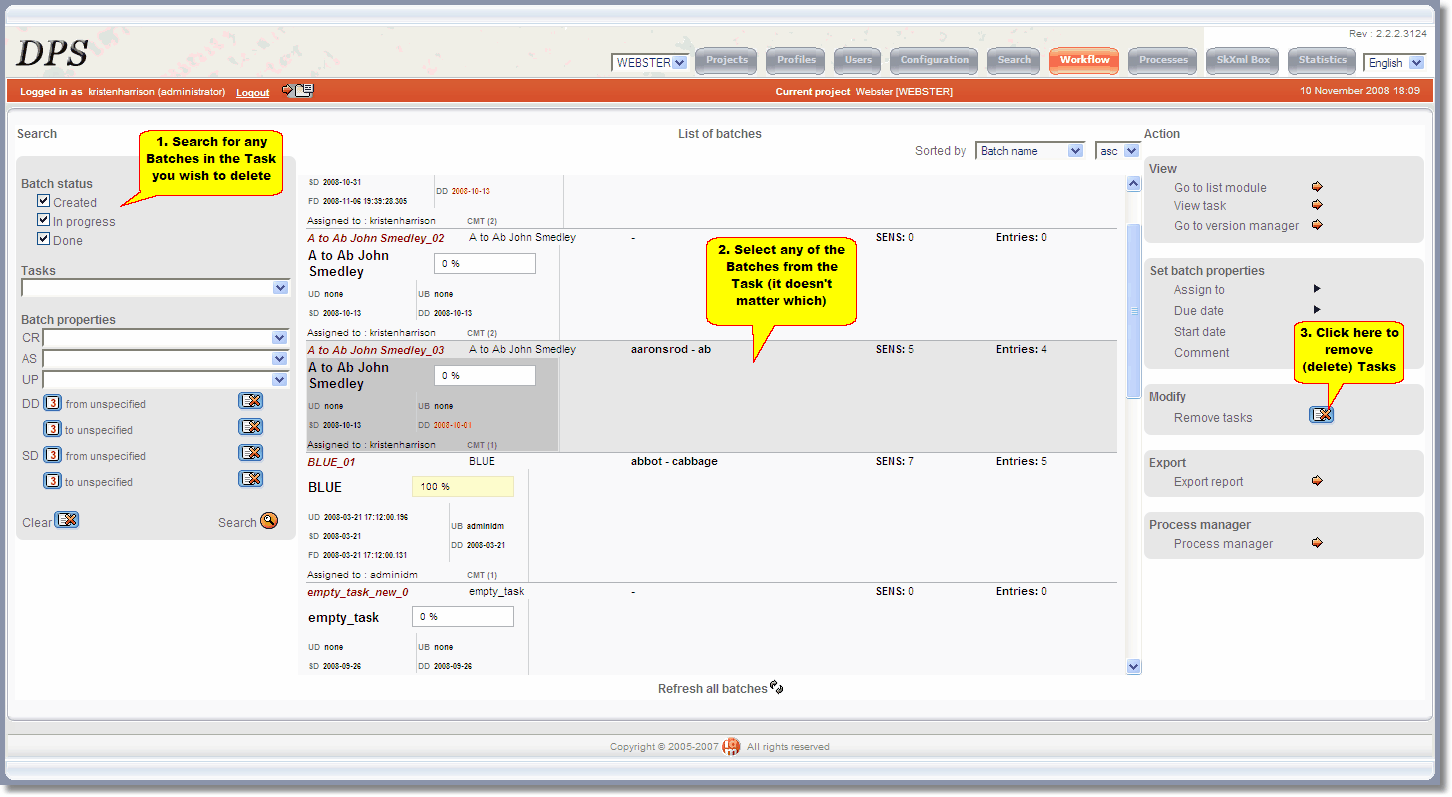
Deleting a Task
To delete a Task:
 |
| Click to enlarge |
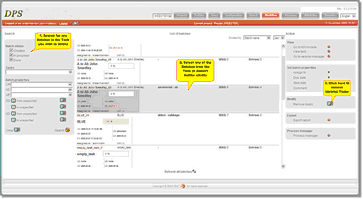
| 1. | Click on the Workflow button  to select the Workflow screen, then perform an appropriate search (see Retrieving Batches) to display one or more Batches from the Task you wish to delete. to select the Workflow screen, then perform an appropriate search (see Retrieving Batches) to display one or more Batches from the Task you wish to delete. |
| 2. | Select any one of the Task's Batches. |
| 3. | Click the delete button next to 'Remove task'. |
Note: only the task definition and all its batch definitions are deleted; the member entries are not deleted or altered in any way.
Renaming a Task
To rename a Task:
| 1. | Click on the Workflow button to select the Workflow screen, then perform an appropriate search (see Retrieving Batches) to display one or more Batches from the Task you wish to delete. |
| 2. | Select any one of the Task's Batches. |
| 3. | Select the 'Rename task' link to the right and enter a new name. |
| 4. | If batches should also be renamed, let the tick-box stay ticked. Otherwise deselect it. |