|
Editing an Entry |
  
|
| Show/Hide Hidden Text |
|
Editing an Entry |
|
| Show/Hide Hidden Text |
The Entry Editor has a rich set of functions for manipulating the XML structure of an entry. These are mostly accessed by Keyboard Shortcuts, but in some cases you can also use menu options or the right-click menu. In this section you will learn how to:
Entries can be edited in either the WYSIWYG panel or the Tree panel. The two panels are linked so changes that you make in one view are immediately reflected in the other. Furthermore, moving the cursor in one view causes the relevant data to be highlighted in the other.
Note: Before you tackle this section you should first be familiar with the Screen Layout.
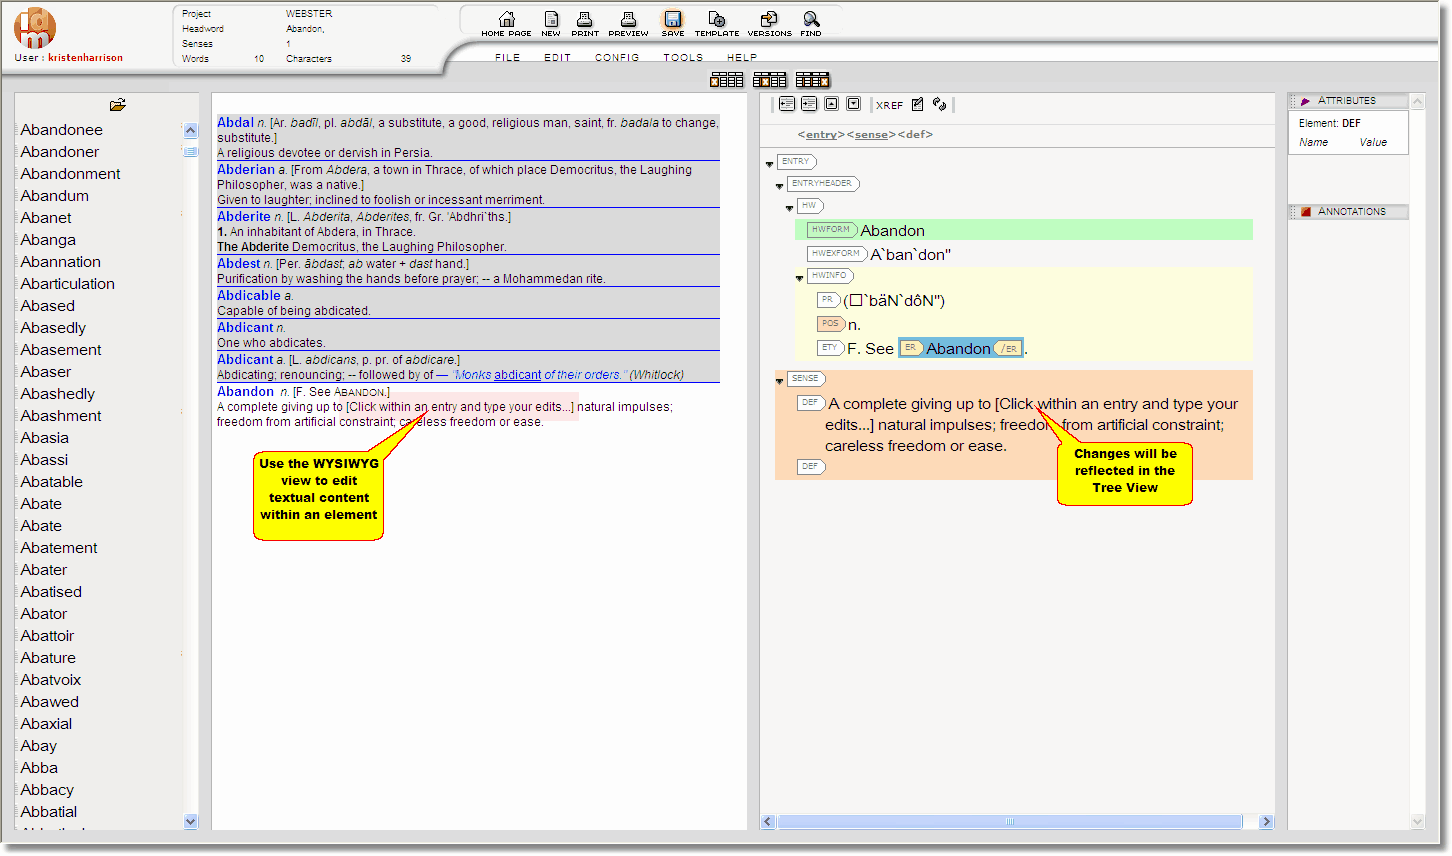
The WYSIWYG Panel displays the entries you have downloaded, whether they be in a batch, or 'Not in Batch'. A maximum of eight entries are displayed at a time. If the one you want is not visible, double-click on it in the Navigation Panel and it will scroll into view. Note that you must double-click precisely on the text of the Headword rather than on the file icon to its left.
Once you have your entry displayed in the WYSIWYG Panel you can alter text content by simply clicking within an entry and typing in your changes, or by using the standard Windows shortcut keys such as CTRL+X to cut, CTRL+C to copy and CTRL+V to paste:
 |
| Click to enlarge |
![]() Note that in the WYSIWYG panel you cannot edit text not present in the underlying XML data that has been inserted by the Entry Editor for presentational purposes. The nature and extent of such text varies between projects, but often includes spacing and punctuation between different parts of the entry. Move existing XML elements or alter the XML structure.
Note that in the WYSIWYG panel you cannot edit text not present in the underlying XML data that has been inserted by the Entry Editor for presentational purposes. The nature and extent of such text varies between projects, but often includes spacing and punctuation between different parts of the entry. Move existing XML elements or alter the XML structure.
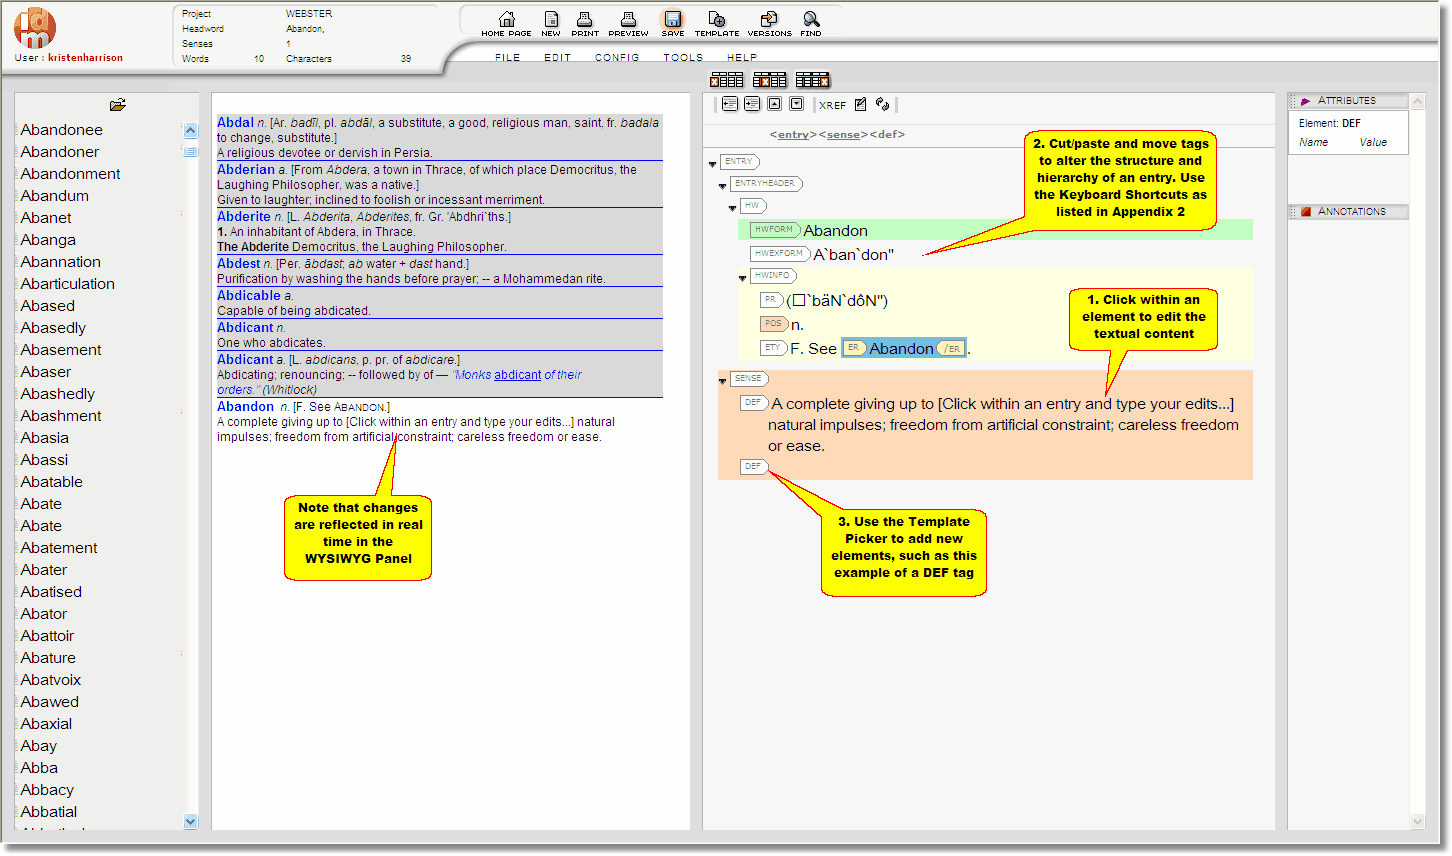
The Tree Panel displays a tree view of the XML tags and data for the entry currently selected (i.e. with the cursor in it) in the WYSIWYG panel. In the Tree Panel you can:
 |
| Click to enlarge |
| 1. | Alter text content by simply clicking area you wish to edit and typing in your changes. |
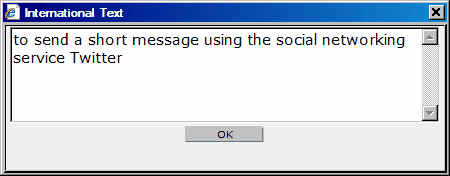
| 2. | To use IME or similar for inputting Chinese, Japanese etc. you should use the International Text Window available via short-cut Ctrl + U. It is also possible to configure the entry editor to make that window appear automatically when double-clicking the text that should be edited. To configure this, go to Configuration/Preferences. |
| 3. | Cut, paste, move, and reorder whole elements in a wide variety of ways. All of the available options are listed in the Keyboard Shortcuts section. |
| 4. | Use the Template Picker to insert new elements. See The Template Picker (Inserting New Content) for detailed instructions. |
![]() Note that in the Tree Panel you cannot edit text that is not present in the underlying XML data that has been inserted by the Entry Editor for presentational purposes. (There is generally much less of this than in the WYSIWYG view.)
Note that in the Tree Panel you cannot edit text that is not present in the underlying XML data that has been inserted by the Entry Editor for presentational purposes. (There is generally much less of this than in the WYSIWYG view.)
Cursor Positioning in the Tree Panel
To position the cursor on the text you wish to edit, use either of these two methods:
| 1. | Click directly on the position in existing text where you wish to make changes. |
| 2. | Click on the element label – which selects the whole element – and the press the Right Arrow key. This places the cursor at the beginning of that element's text. This method is especially useful when adding text to an empty element. These are some useful variations on the second method: |
| • | If you press the Right Arrow key when the selected element cannot itself contain text, the cursor is positioned at the start of the (possibly empty) text in the next element that can. |
| • | If you press the Right Arrow key when the cursor is positioned at the end of an element's text, the cursor moves to the start of the (possibly empty) text in the next element that can contain text. |
| • | If you press the Left Arrow key when positioned on an element label or at the start of an element's text, the cursor is positioned at the end of the (possibly empty) text in the nearest preceding element that can contain text. |
| • | The Left Arrow and Right Arrow keys retain their normal meanings (move one character to the left/right) when the cursor is in other positions. |
| • | Similarly, when positioned in text the CTRL+Left Arrow and CTRL+Right Arrow move the cursor one word to the left/right, crossing element boundaries according to the above rules. The consequence of these rules is that the Left Arrow and Right Arrow keys are a useful way to move around an entry's textual content in the Tree Panel. |
![]() Important Note! The CTRL+Left Arrow and CTRL+Right Arrow commands have completely different functions when the whole element is selected (i.e. when you have clicked on the element's label). See Keyboard Shortcuts for a full explanation.
Important Note! The CTRL+Left Arrow and CTRL+Right Arrow commands have completely different functions when the whole element is selected (i.e. when you have clicked on the element's label). See Keyboard Shortcuts for a full explanation.
Collapsing and Expanding XML Elements
An entry is initially displayed with all its XML elements expanded: that is, the complete data content and/or child elements of all elements is shown, with nothing hidden. You can collapse an element (show the element's label, but hide its data content and its child elements) by clicking on the small triangle to the left of the element's label. Another click on the triangle re-expands the element.
The menu option EDIT/(UN)COLLAPSE ALL ELEMENTS either fully collapses the entry or, if the entry is already collapsed, fully expands it. If you have collapsed some elements and want to expand them all en bloc rather than individually, fully collapsing and then fully expanding all elements is a quick way to do this.
When an element is collapsed, a label summarizing its most important content might appear next to it; this feature, if it is used at all, is configured by your DPS Administrator and will vary between projects. The labels cannot be edited.
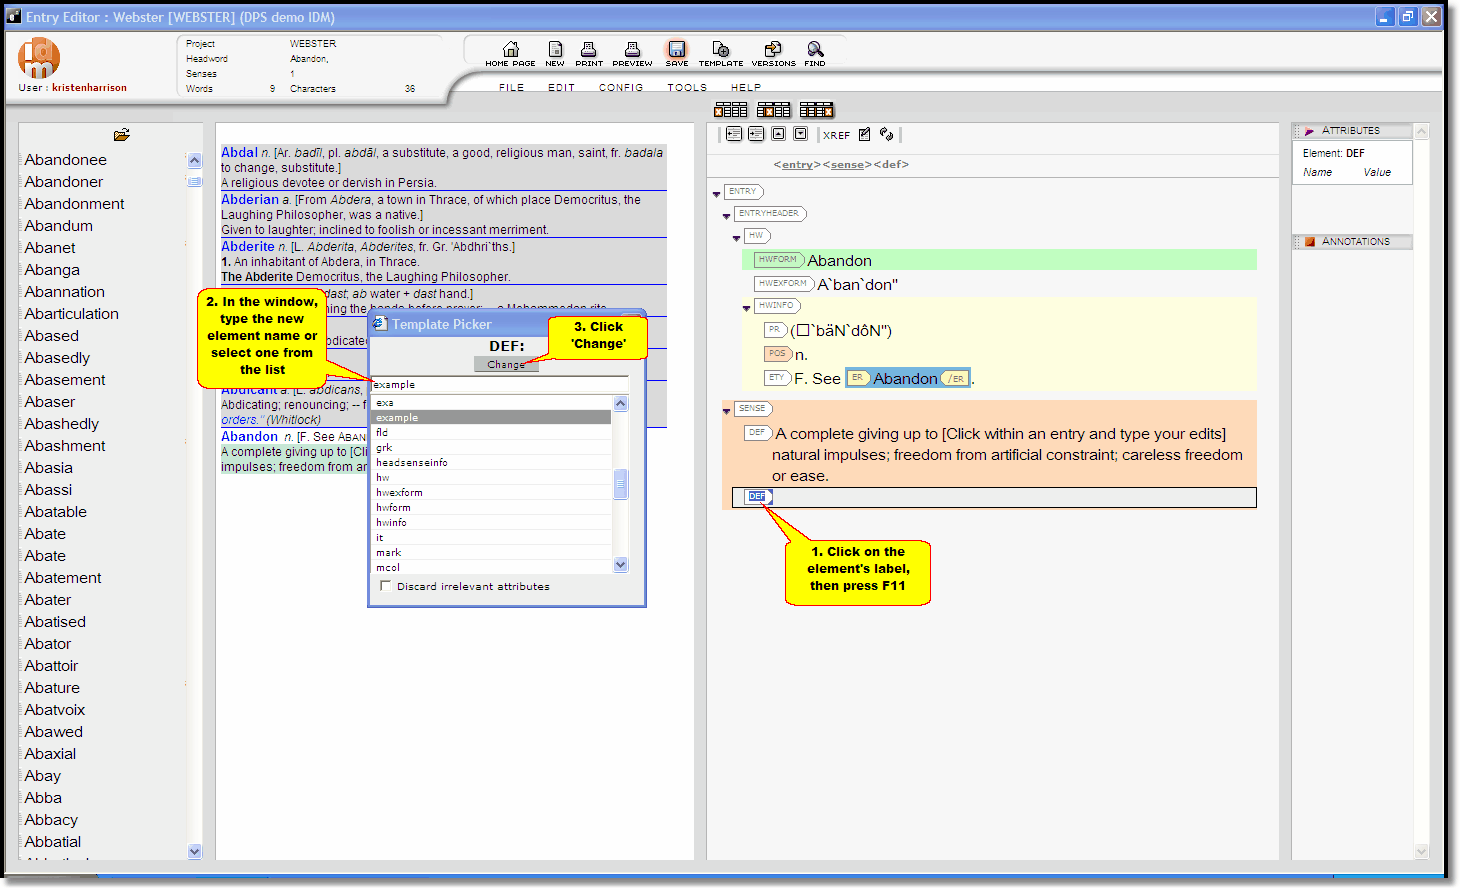
Renaming XML Elements
To rename an element:
 |
| Click to enlarge |
| 1) | Select the element by one of these methods: |
| a) | Right-click on the element and select menu option Change node name. |
| b) | Select the element or place the cursor in its textual content, then press key F11. |
| 2) | A popup window containing all valid element names appears. Either: |
| a) | Select the desired new element name, or |
| b) | Double-click the desired new element name |
| 3) | Click 'Change' |
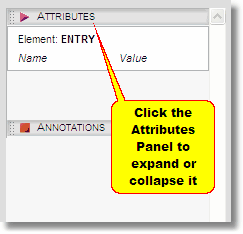
The Attributes panel displays any editable attributes of the XML element currently selected (i.e. with the cursor in it) in the Tree panel. They are presented in simple text boxes and can be freely edited.
Attributes contain additional data associated with an XML element. Their contents may manifest in the final project output, but more usually they contain 'behind the scenes' data (see also Metadata). The attributes applicable to each element, their meaning, and their usage vary with each project; your Project Manager should have given you the information necessary to edit them sensibly.
Elements that can have attributes are flagged with a purple triangle ![]() in the Tree View Panel.
in the Tree View Panel.
Attributes are edited in the Entry Editor's attribute Attribute Editor in the right-hand side panel:
To edit an element's attributes:
| 1) | Select the element in the Tree View Panel. The attribute editor will show all the attributes that can be assigned to the element together with their current values. |
| 2) | Change the values as desired: |
| a) | For attributes whose values must be taken from a predefined list, select the desired value from the drop-down list. |
| b) | For attributes that can take any textual value, type the value in the text box. |
Instructions for editing Annotations are detailed in the Using Annotations section.
You should save your changes regularly to prevent loss of work. To save, simply click on the Save ![]() button. This updates the copy of the entry on your computer (so that they are preserved between Entry Editor sessions), but it does not update the DPS Repository. (That only happens when you upload the entry.)
button. This updates the copy of the entry on your computer (so that they are preserved between Entry Editor sessions), but it does not update the DPS Repository. (That only happens when you upload the entry.)
Your current entry (i.e. the one that is shown in the Tree Panel) is automatically saved whenever you move to a different entry (i.e. by clicking on it in the WYSIWYG panel or double-clicking on it in the Navigation panel).