Annotations are a means of communicating with other members of the management and editorial teams. Like Attachments, they can be comments, messages, requests for action and so on, but the difference is that Annotations are not just attached to an entry, they are attached to a specific XML element. Annotations are managed in both the Entry Editor (see Using Annotations in the Entry Editor section) or in the DPS Website. In this section you will learn how to manage Annotations from within the DPS Website, specifically:
Understanding Annotations
An annotation consists of three fields:
| 1) | The topic: this is the title or name of the Annotation. Like the subject line of an e-mail, this should give an indication of the subject of the Annotation. A topic can be up to 30 characters long and must not contain spaces. |
| 2) | The status: this is a label indicating of the Annotation's current position within the project's procedure for processing Annotations. |
| 3) | The main text: this is the body of the annotation, which describes the issue, comment or subject in detail. An Annotation's text can be up to 4000 characters long. |
The contents of the topic and text fields are free text so there are no restriction on what you can enter. Note that even if your project manager has asked you to adhere to certain guidelines in using these fields, DPS will not enforce them – so be careful! The status, however, must be chosen from a list. Typical examples of status options might be: 'Request', 'ForAction', 'Actioned', 'Closed', 'ForInfo', 'Ignore'. The exact labels available will vary with each project, as will the rules for applying and changing them.
 Note: The status options and rules relating to Annotations are configured especially for your project, so your Project Manager should provide you with guidelines for using them.
Displaying Annotations
Annotations are managed in the WYSIWYG screen of the Search module so you need to search for the relevant entries, select the entries, then click WYSIWYG in the View Panel. For more detailed instructions see Searching for Entries and Viewing Entries.
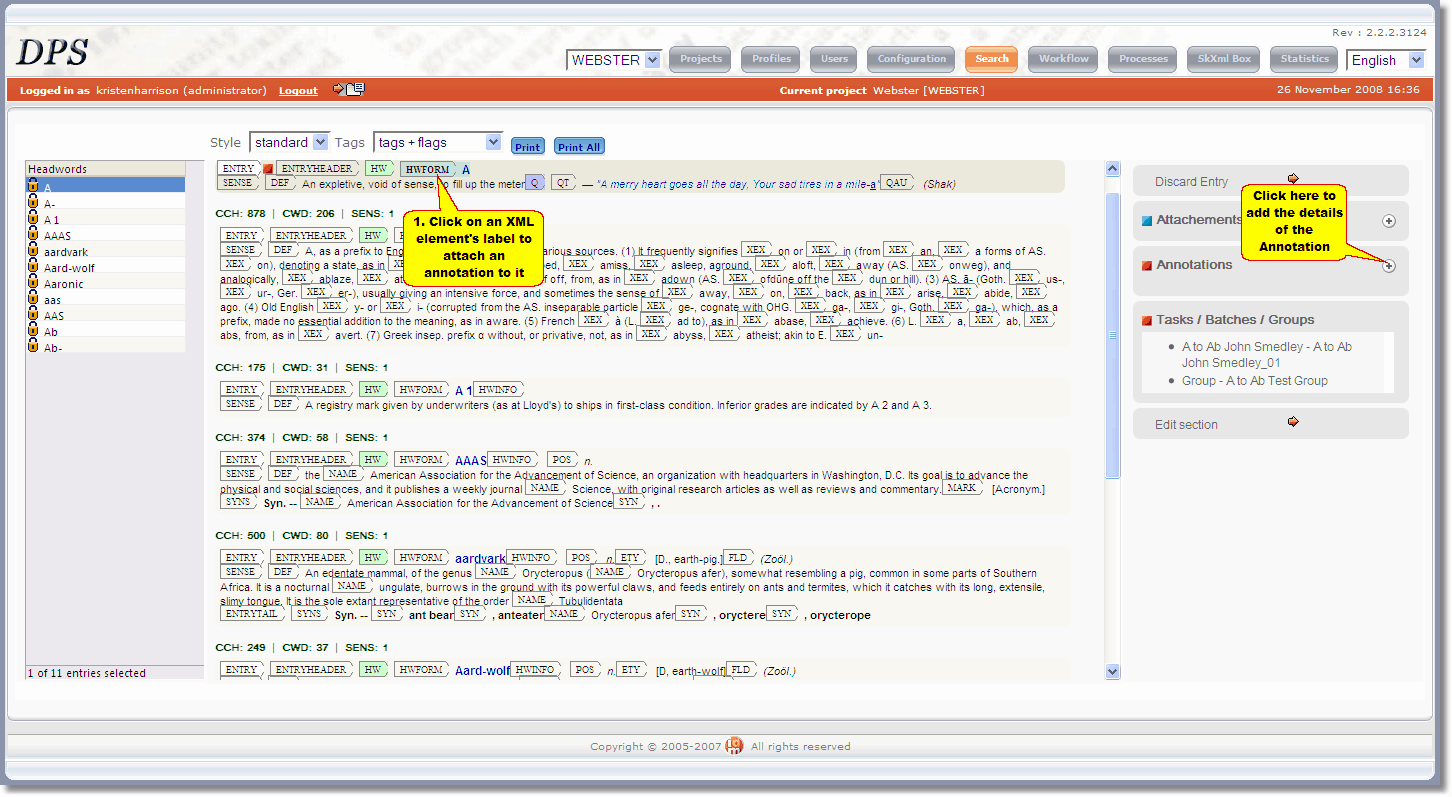
You must select Tags option 'tags + flags' to view and work with Annotations. Elements that have annotations attached to them have a red square next to the element name in the WYSIWYG display. To display the annotation(s) for that element, click on it. The annotations are shown in the annotation editor, in the right-hand column:
 |
| Click to enlarge |
Adding an Annotation
To add an Annotation from the DPS Website:
| 1) | Select an element in the WYSIWYG display by clicking on its label. The selected element is highlighted and any existing Annotations displayed in the Annotations editor. |
| 2) | Click the plus sign  button in the Annotation editor: button in the Annotation editor:
 | | Click to enlarge |
|
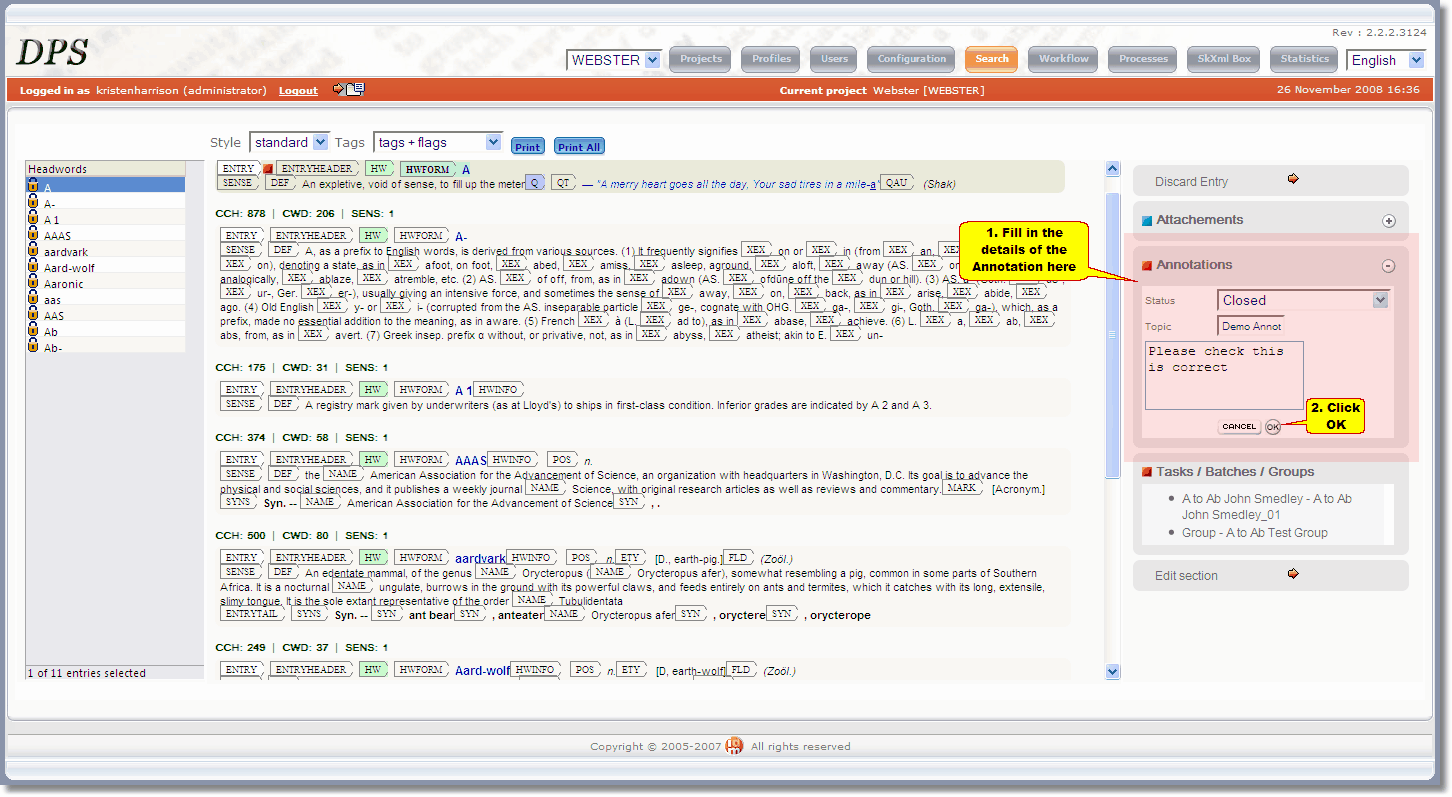
| 3) | Type a topic name in the 'Topic' box. |
| 4) | Select a Status from the drop-down list. Note that the options available here will depend on what has been set up for your project. If you are unsure which to use, check with your Project Manager. |
| 5) | Type your comment in the 'Text' box. |
| 6) | Click the OK button to record your annotation:
 | | Click to enlarge |
|
Editing an Annotation
| 1. | Select an element in the WYSIWYG display by clicking on its label. The selected element is highlighted and any existing annotations displayed in the annotations editor. |
| 2. | Click the Edit button (notepad icon) next to the annotation you wish to edit. |
| 3. | Modify the Topic, Status, and Text as desired |
| 4. | Click the OK button to record your changes, or Cancel to abandon them. |
Deleting an Annotation
| 1. | Select an element in the WYSIWYG display by clicking on its tag. The selected element is highlighted and any existing annotations displayed in the annotations editor. |
| 2. | Click the – button next to the annotation you wish to delete. |
| 3. | The message 'Do you really want to delete the selected comment?' will be displayed. Answer OK (or Cancel if you have changed your mind). |