|
Working with Groups |
  
|
| Show/Hide Hidden Text |
|
Working with Groups |
|
| Show/Hide Hidden Text |
A Group is a set of specified entries collected into a named unit. The creation of a Group allows you to search for a unit by name and retrieve the entry sets within that unit. Groups are a useful tool for editorial and administrative management and, while there is no obligation to use them, they can be invaluable.
In this section you will learn how to create a group, add or remove entries from a group and delete a group.
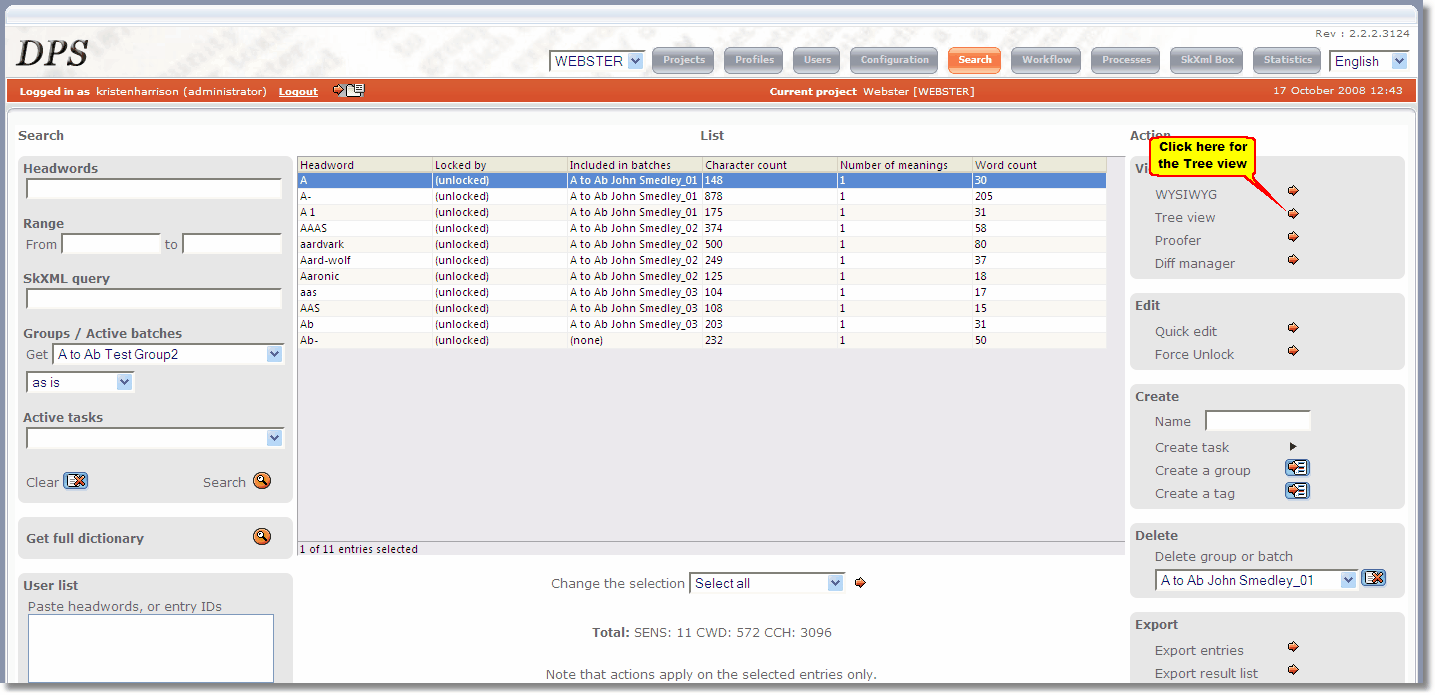
You can view the Groups that a particular entry belongs to by selecting the entry then clicking the arrow ![]() next to Tree view in the View panel:
next to Tree view in the View panel:
 |
| Click to enlarge |
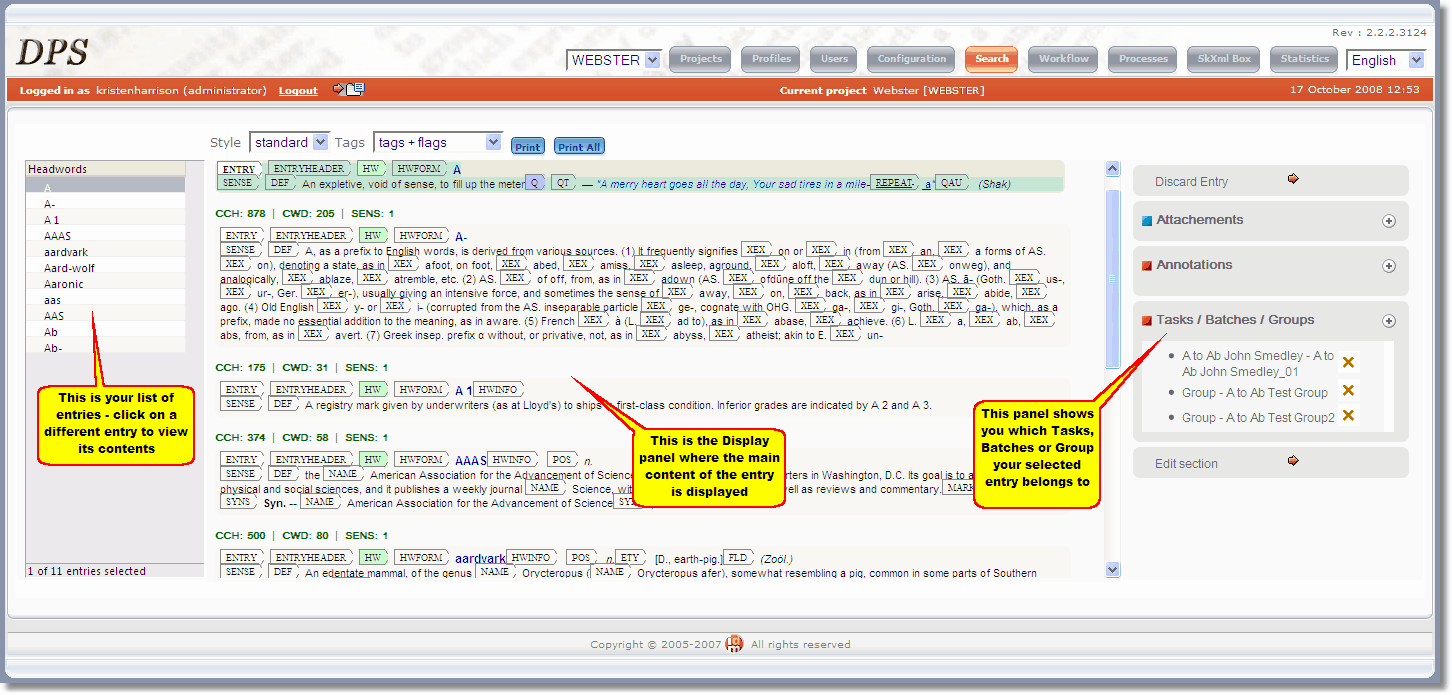
You will be taken to the Tree view screen where you can view the Groups a particular entry belongs to in the panel on the right:
 |
| Click to enlarge |
Creating Groups
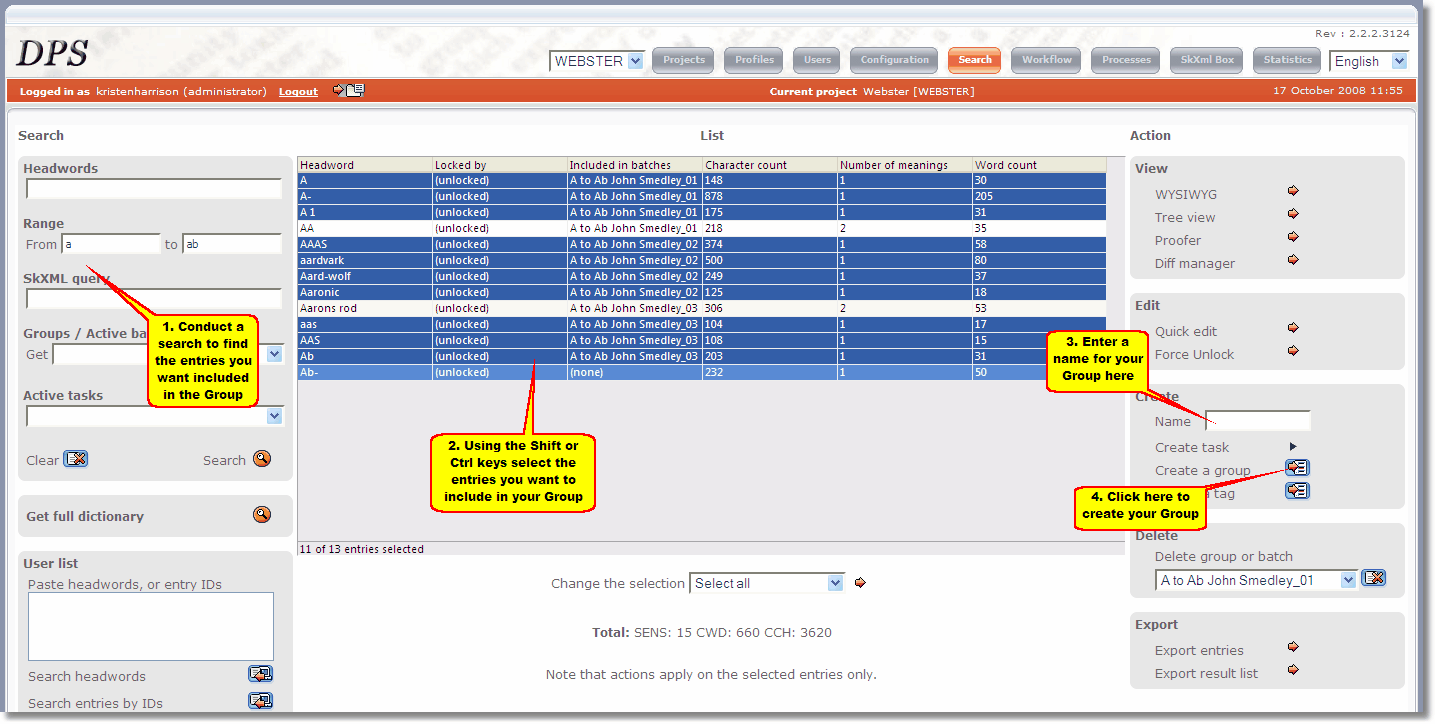
To create a new Group:
 |
| Click to enlarge |
| 1) | Search for an approximate set of entries that should form the group's entry set. In this example we will search for entries between the range A to Ab and we will create a group from this unit of entries. If necessary, refine this entry set by selecting some rather than all of the entries retrieved. In this case we will select the entries with only one meaning. |
| 2) | In the Create panel on the right of the screen enter a name for you group in the Name box. |
| 3) | Click on the button |
 |
| Click to enlarge |
Adding an Entry to a Group
To add an entry to a Group you will first need to display the entry in the Tree view. See instructions for this in the View a Group section above. You can then proceed to Add an entry to a Group.
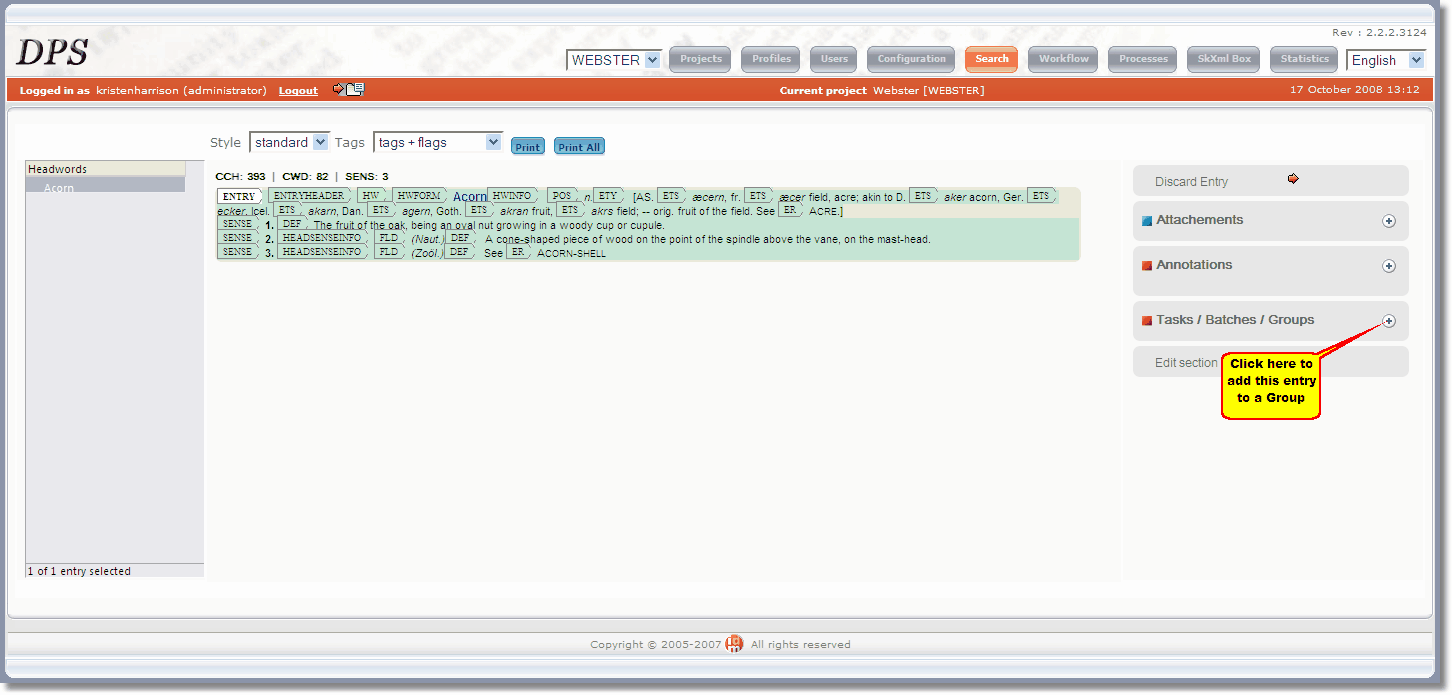
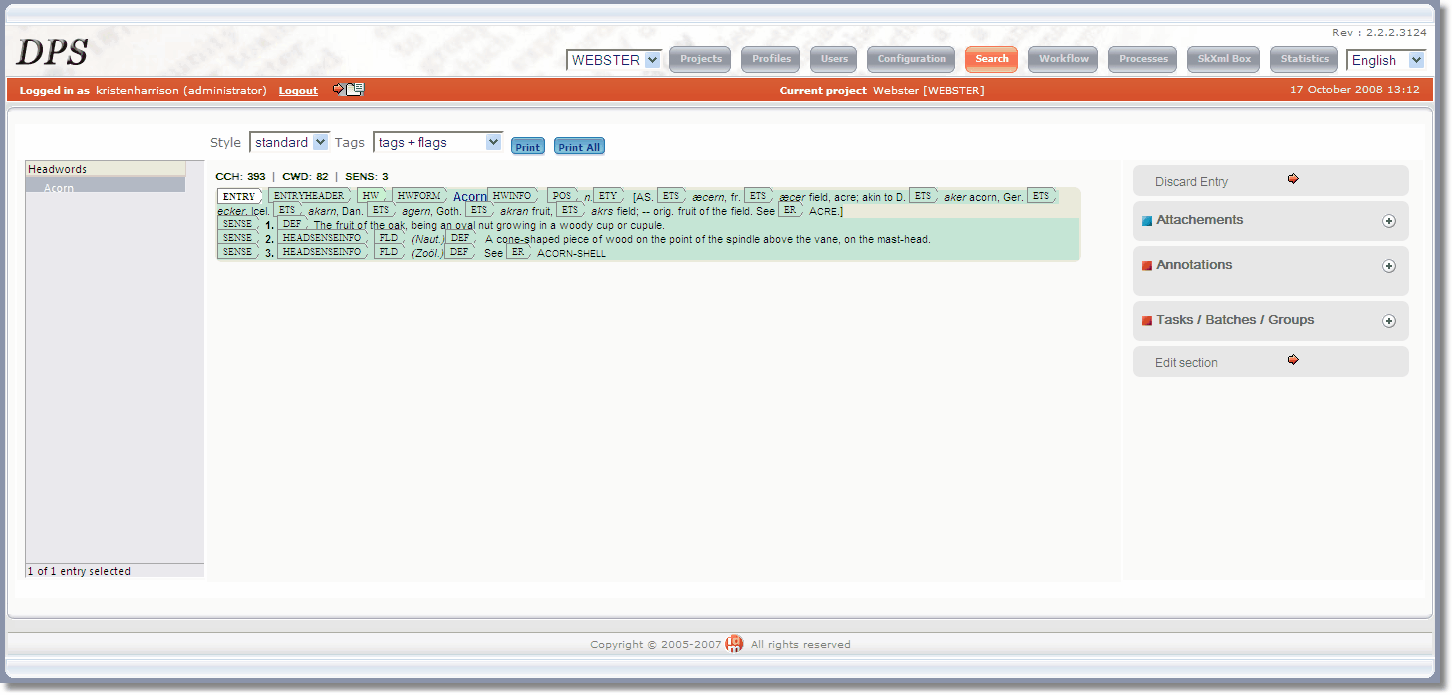
| 1) | Select the entry you wish add to a Group. The panel on the right will show you which Groups, Batches or Tasks this entry already belongs to. Click the plus symbol
|
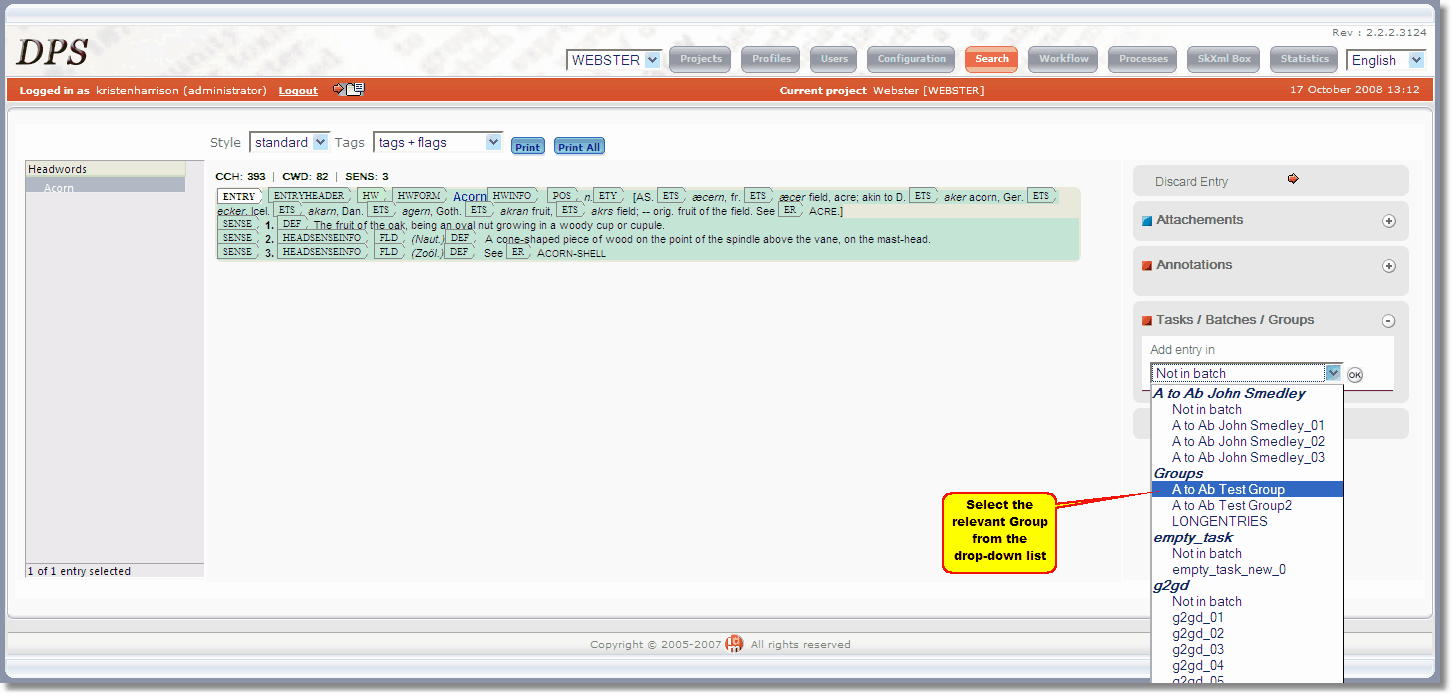
| 2) | A drop-down list of available Group and Batch names will appear. Groups are displayed under the heading 'Groups'. Select the appropriate group name then click the OK button:
|
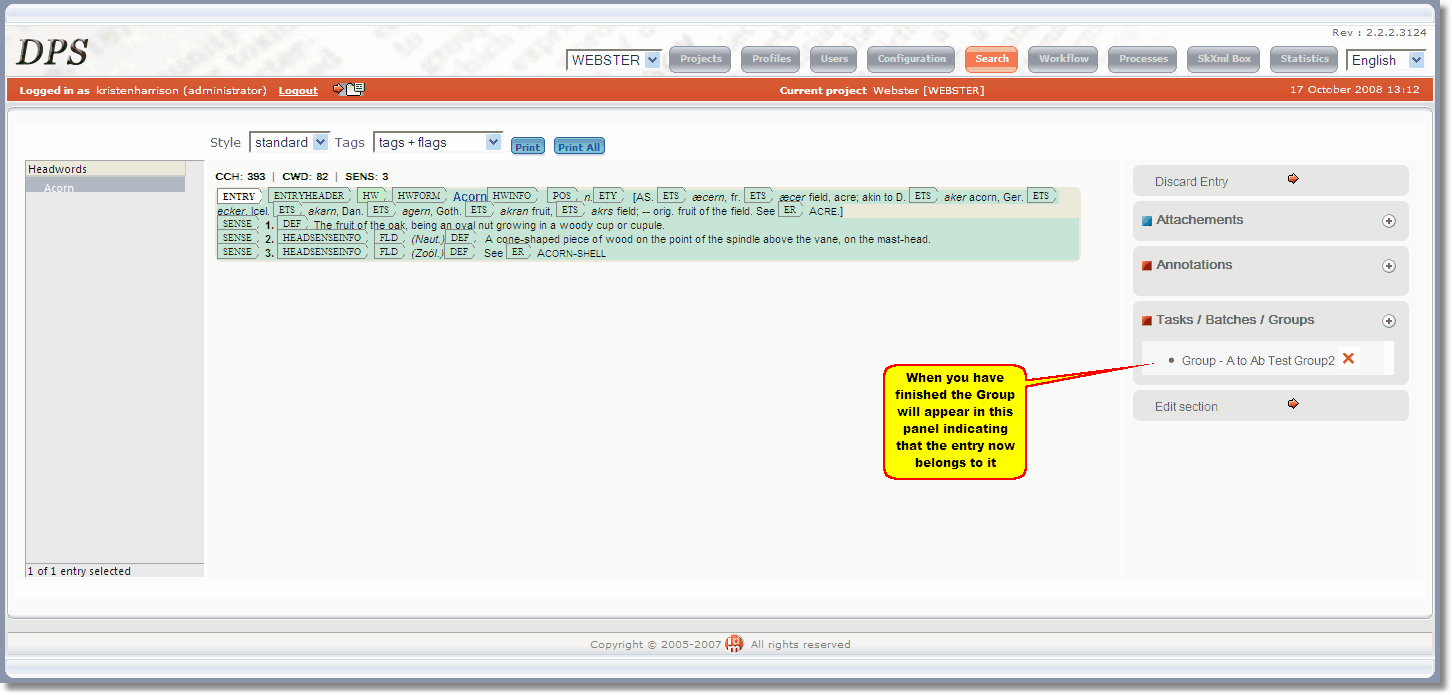
| 3) | When you have successfully added the entry to a Group, the Group name will appear in the Tasks/Batches/Groups panel:
|
Removing an Entry from a Group
To remove an entry from a Group you will first need to display the entry in the Tree view. See instructions for this in the View a Group section above. You can then proceed to remove an entry from a Group.
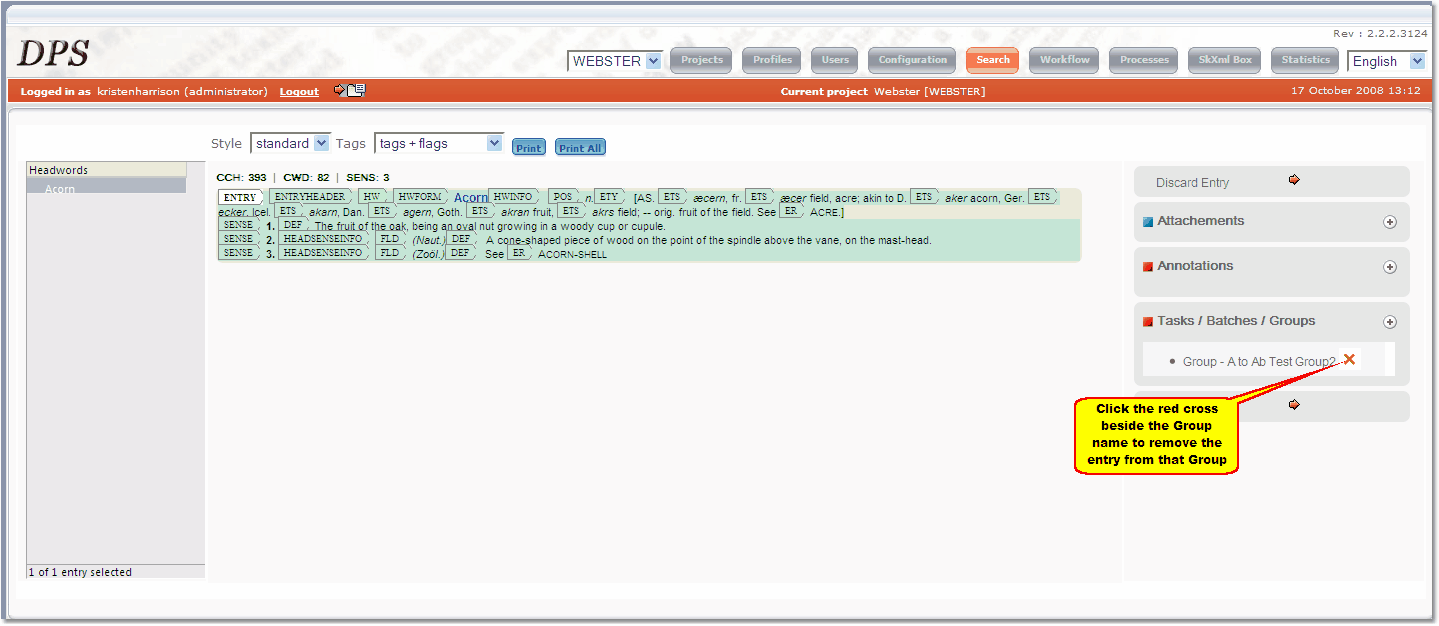
| 1) | To remove an entry from a Group click the red cross
|
| 2) | The Group name will then disappear from the Tasks/Batches/Groups panel:
|
Deleting Groups
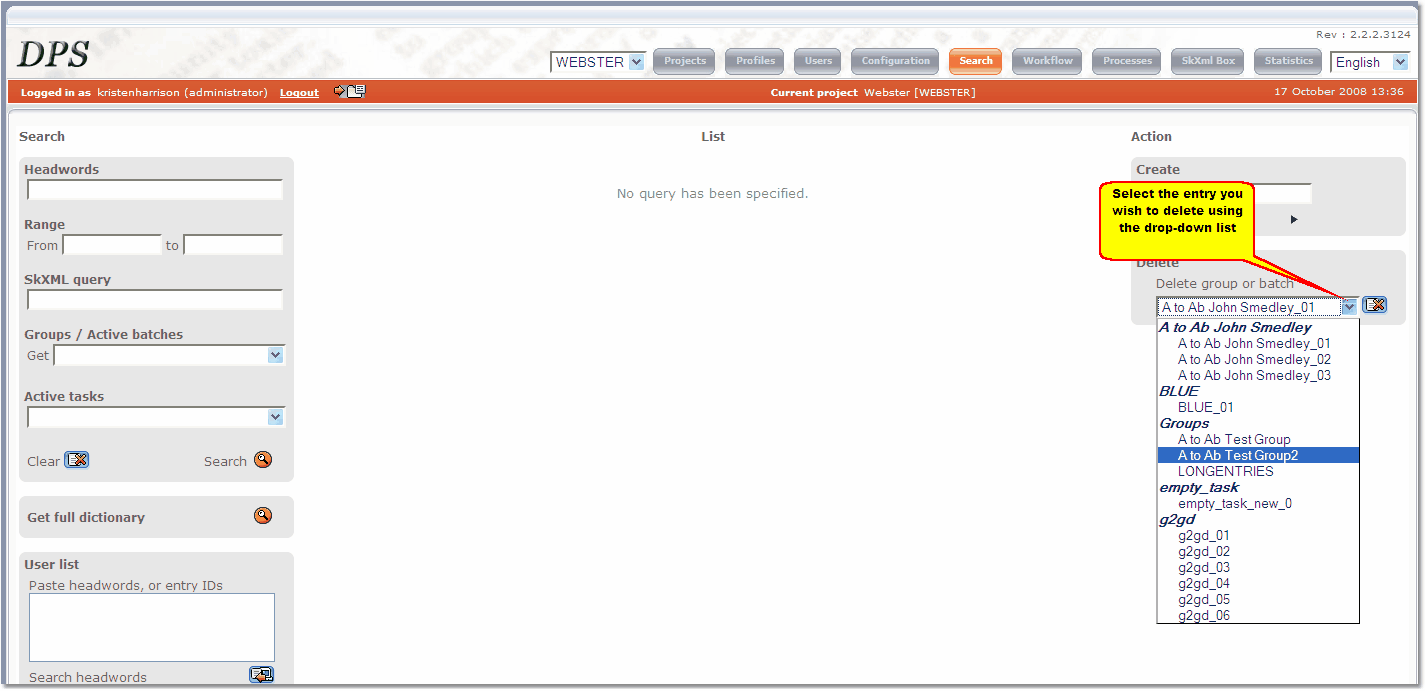
| 1) | In the search screen, select the group you wish to delete from the 'Delete group or batch' drop-down list on the right of the screen. Groups are listed under the heading 'Groups'; all other entries are batches:
|
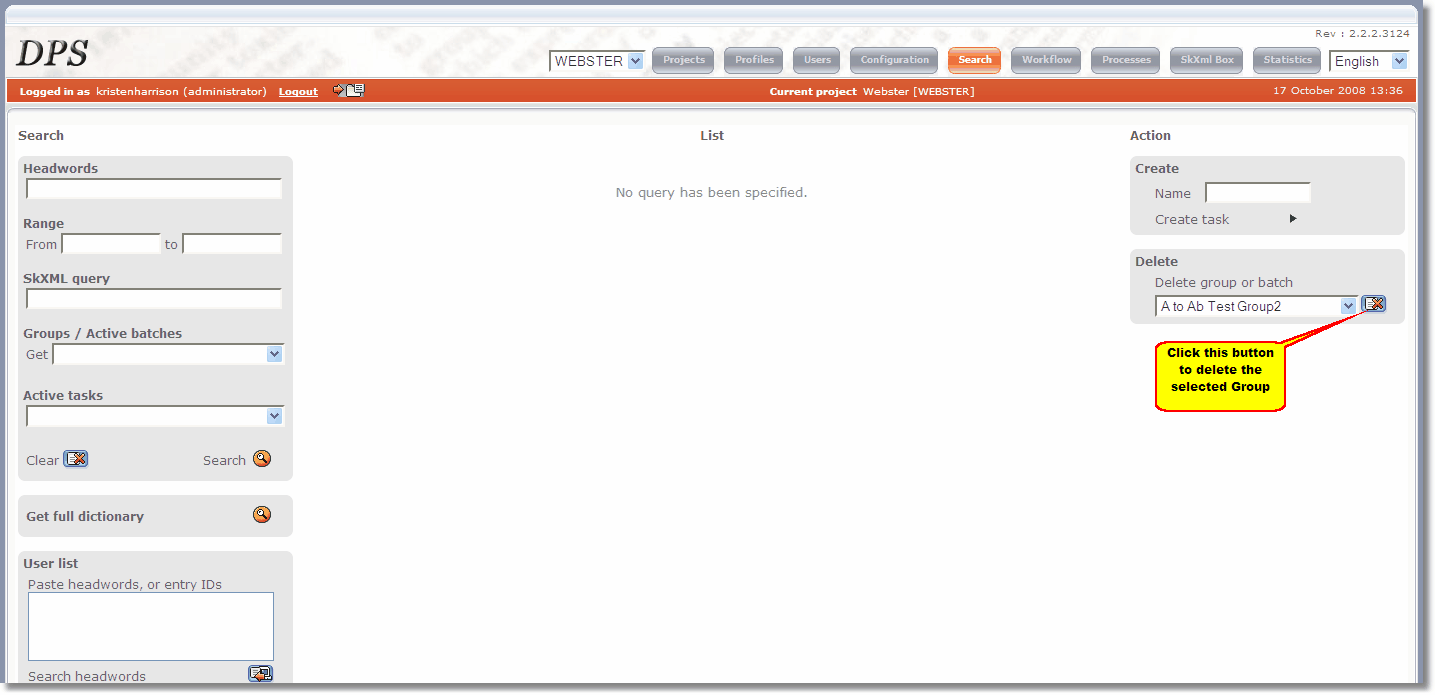
| 2) | Click the button
|
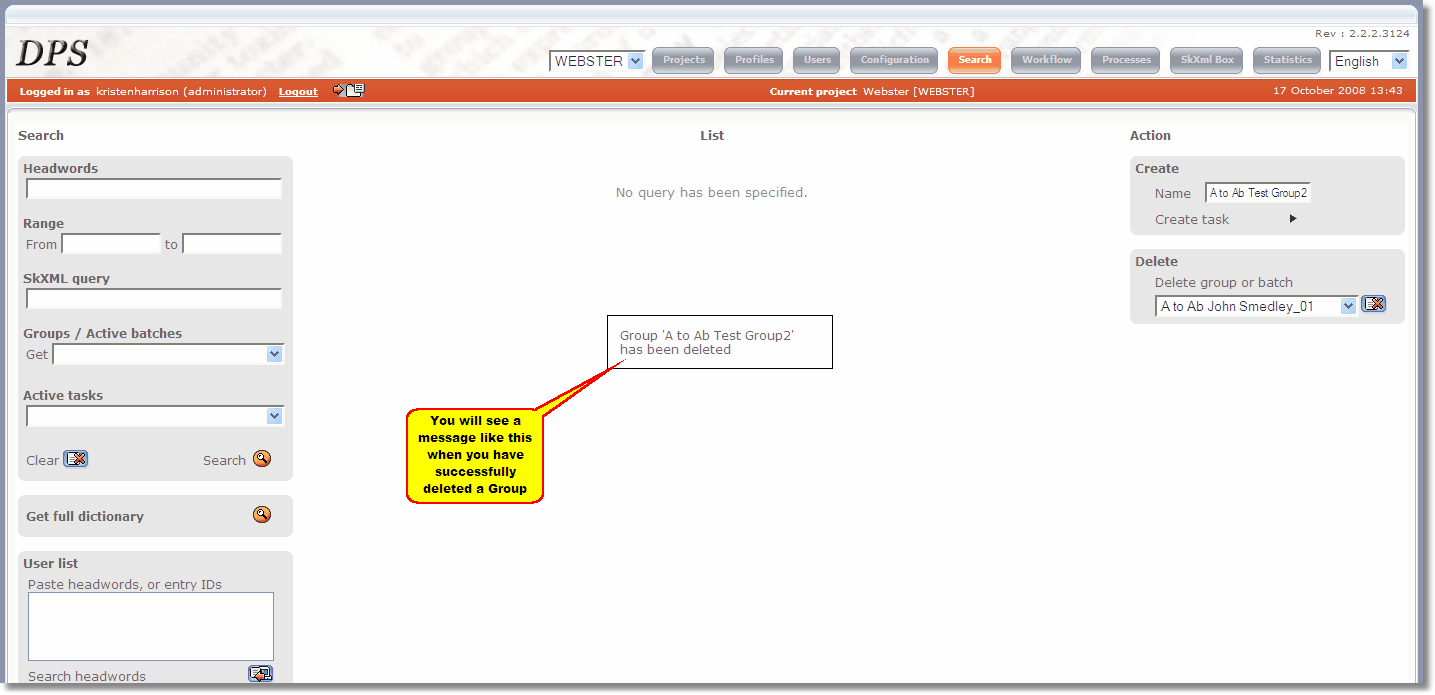
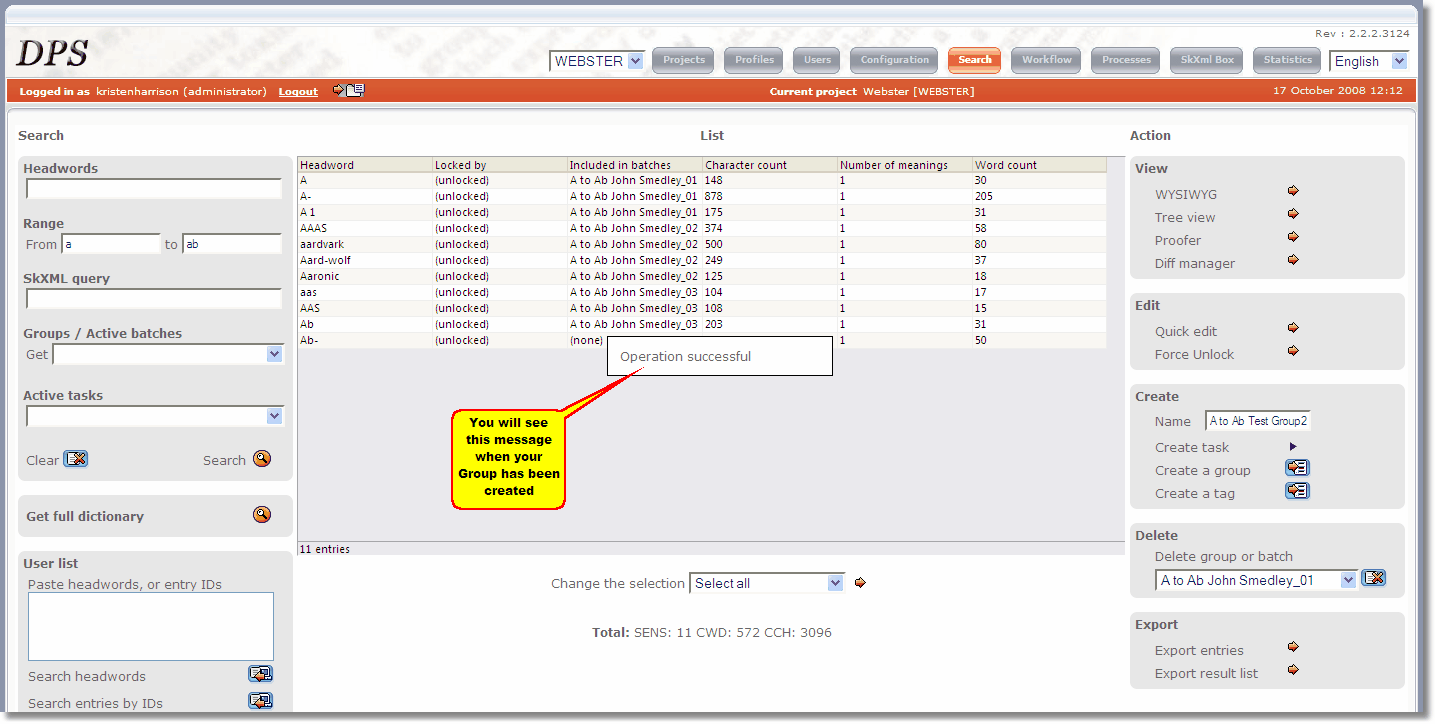
| 3) | You will see the message 'Group [GROUP NAME] has been deleted':
|
![]() Note: only the Group definition is deleted; its member entries are not deleted or altered in any way.
Note: only the Group definition is deleted; its member entries are not deleted or altered in any way.